Name the Shapes - How to Teach Flat Shapes to Pre-K and Kindergarten Students
-
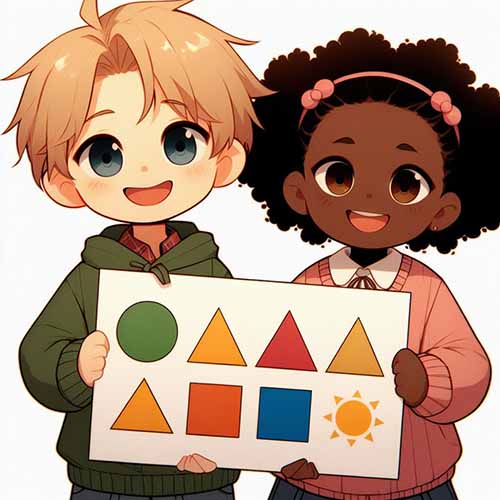
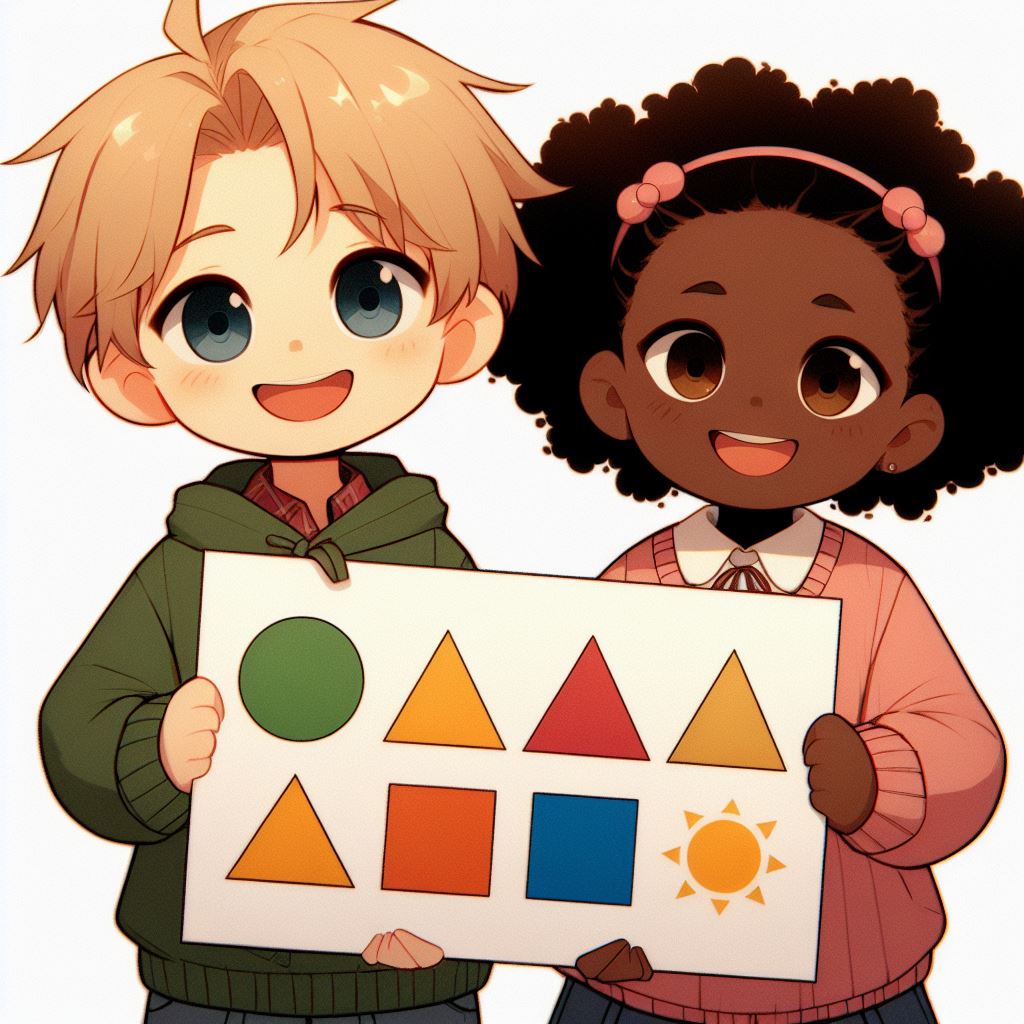
Children showing a poster with flat shapes - By BING -
Are you a parent or teacher who wants to learn how to teach flat shapes to pre-k and kindergarten students easily? This flat shapes lesson plan for kids is for you. This lesson plan consists of creative activities and visual aids to make learning shapes a fun and memorable experience for young learners.
Flat shapes are one of the basic math concepts that pre-k and kindergarten students need to learn. They have only two dimensions. Here are examples of flat shapes: circles, squares, triangles, rectangles, and hexagons. Recognizing and naming flat shapes helps students develop their spatial awareness, geometry skills, and problem-solving abilities.
Flat shapes lesson plan for kids
-
This page will show you how to create a lesson plan for teaching flat shapes to pre-k and kindergarten students. This flat shapes lesson plan for kids is based on the math skill "What shape is this?" from mathskills4kids.com. You can watch the video here: https://youtu.be/3s2sby-w_vo.
-
Grade Level: Pre-K | Kindergarten | Grade 1
Duration: 20 - 30 minutes
Objectives: By the end of this lesson, students will be able to:
- Identify and name flat shapes
- Compare and contrast flat shapes
- Sort and classify flat shapes by their attributes
This lesson plan is flexible and adaptable to different classroom settings and situations. You can adjust the duration, difficulty, and number of activities according to your students' needs and interests. You can also use different materials and resources that are available to you.
-
Previous knowledge
Students should have some prior knowledge of:
- The names of some everyday objects that have flat shapes, such as a clock, a pizza, a book, etc.
- The concept of the same and different
- The concept of big and small
Materials
For this lesson, you will need:
- A computer or a projector to show the video
- A set of flashcards with flat shapes (you can print them from here: https://www.mathskills4kids.com/flat-shapes-flashcards).
- A set of manipulatives with flat shapes (such as foam shapes, plastic shapes, or shape cut-outs)
- A large sheet of paper or a poster board
- A marker
- A glue stick
- A pair of scissors
READ THE PROCEDURE
-
Warm-up
To start the lesson,
- Show the video from mathskills4kids.com to the students. The video introduces the names and features of flat shapes in a fun and interactive way.
- Pause the video at specific points and ask the students to repeat the names of the shapes and point to them on the screen.
- You can also ask them to find objects in the classroom that have the same shape as the ones in the video.
-
Introducing the concept
After watching the video,
- Review the names and features of flat shapes with the students using the flashcards.
- Show each flashcard to the students and ask them to name the shape and describe its attributes, such as how many sides it has, how many corners it has, whether it is round or straight, etc.
- You can also ask them to compare and contrast different shapes, such as how a square differs from a rectangle or a circle differs from an oval.
-
Activities and games
For the main activity,
- Divide the students into small groups and give each group a set of manipulatives with flat shapes.
- Ask them to sort and classify the shapes by their attributes, such as by color, size, number of sides, number of corners, etc.
- You can also challenge them to create patterns or designs with the shapes.
- As they work, walk around the groups and ask them questions about their sorting and classification criteria, such as why they put specific shapes together or apart or what they notice about the shapes they are using.
- Please encourage them to use mathematical vocabulary and explain their reasoning.
-
Group Sharing
After the activity,
- Ask each group to share their work with the rest of the class.
- Ask them to show how they sorted and classified their shapes and what they learned.
- Praise their efforts and provide feedback as needed.
-
Conclusion
To wrap up the lesson,
- Review the main points with the students using the poster board.
- Draw a large circle on the board and write "Flat Shapes" inside it. Then, draw smaller circles around it and write the names of each flat shape inside them.
- Ask the students to help you glue one example of each shape next to its name.
- Review the names and features of each shape with the students.
✨ Assessment
To assess the students' learning, you can use one or more of these options:
- Give each student a worksheet with pictures of flat shapes and ask them to name and write their attributes.
- Give each student a set of cards with pictures of flat shapes and ask them to sort them into categories by their attributes.
Give each student a piece of paper with a blank grid and ask them to draw flat shapes on it according to the given instructions.
🌈 Have fun teaching and learning about flat shapes! Remember, you're doing an amazing job, teachers! 🎉 For more math videos and resources, visit our website at https://mathskills4kids.com/. 🌟
Please CLICK THE SHARE BUTTON to allow others to benefit from this content!